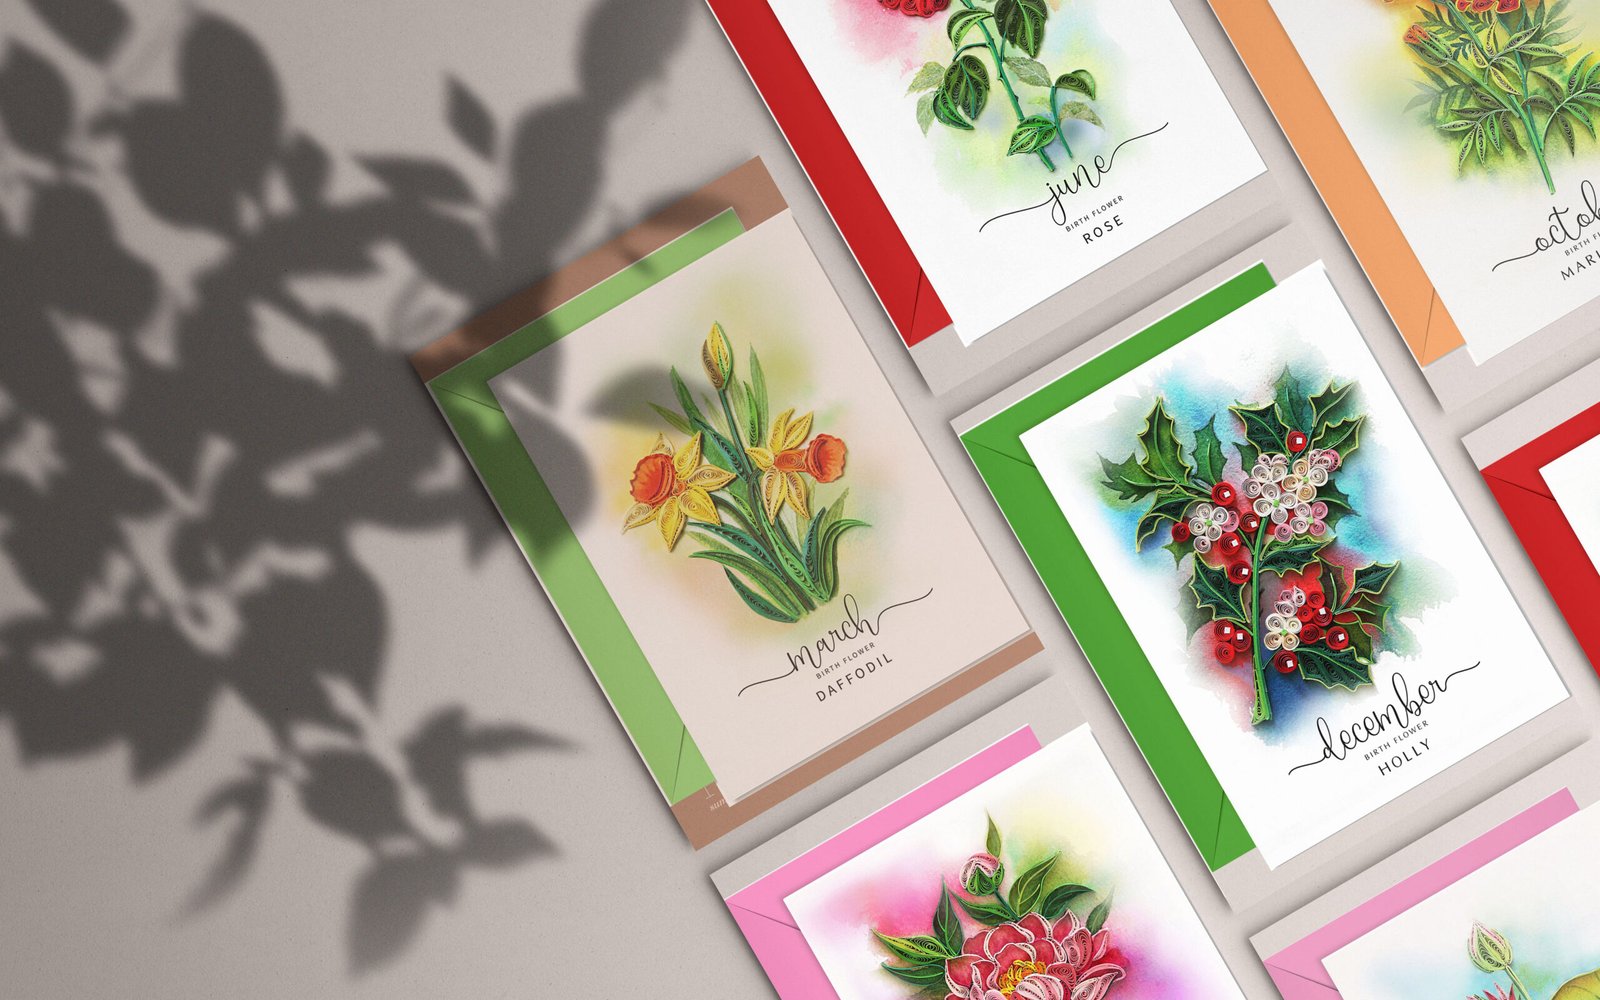
Most will agree that receiving a handmade quilling card is more noteworthy than a store-bought one.
Making a Quilling Flowers Heart card takes a little extra time and requires attention to detail and some precision to get it right. But the payoff with the project is a beautiful little work of art that has the power to spread joy to others. This Quilling Card is also easy to make, but you must follow the instructions precisely.
What You’ll Need
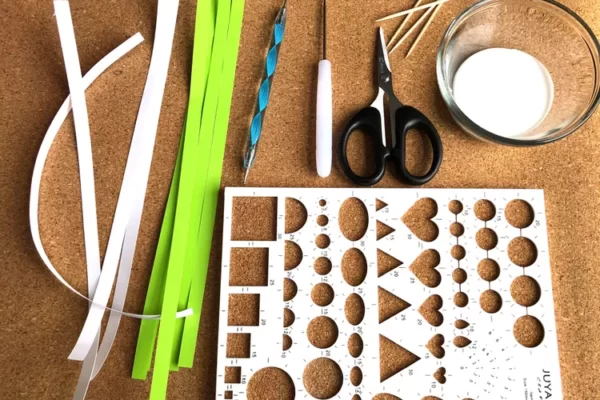
Equipment / Tools
- Scissors
- Craft paper trimmer
- Tweezers
- Tacky glue (such as Mod Podge)
- 1 Paper plate or old plastic container for glue
- Small paintbrush for gluing
Materials
- Card stock or pre-cut quilling strips in desired colors
- 1 sheet of Thick card stock or board for the background
- 1 Shadowbox picture frame
Instructions
01. Print Your Outline
Print your shape of choice, and fill in with a light or dark background color of your choice, onto the card stock background.
02. Cut the Strips
- Choose card stock in colors you plan to incorporate into your design.
- Use the paper cutter to cut paper strips from the card stock that measure one-quarter inch wide.
Pre-Cut Card Stock Strips
Instead of cutting strips, buy packages of pre-cut quilling paper online or at the craft store.

03. Shape the Strips
Once you decide what the design of the inside of your quilling will be, it’s time to make shapes.
- Take a paper strip and wind it around your toothpick or quilling tool into the shape desired, either rolled tightly (for a compact shape) or loosely, depending on your preference. Refer to the common quilling shapes below.
- Place a tiny bit of glue onto the end of the paper strip to hold the shape in place.
Sketch It Out
Before curling your strips, look at other quilled monograms for inspiration and make a preliminary quick thumbnail sketch for the layout of your monogram.

04. Outline Your Quilling With Paper Strips
Use your preferred method to apply glue to the pieces of paper that will form the frame of your letter.
Warning
Too much glue can ruin your project, so be careful. There are two ways to apply glue to the straight strips of paper that form the frame of your letter. (Use either of these methods to place your shaped and quilled pieces inside the letter frame, too.)
- Use a small brush and a light touch to apply glue to the edge of the paper.
- Place the strips lightly onto a paper plate with glue to lightly coat the edge of a piece, then place them on your outline.

05. Frame the Outside of the Quilling With Paper Strips
- Glue and place your strips on the outline of your quilling. Hold each strip down gently until the glue is firm enough for the strip of paper to stand up on its own.
- Make a crisp fold on a strip of paper and add a drop of glue on each end and overlap it on each corner. This small strip will secure the corners.
- Glue and layer a quarter-inch strip as an anchor anywhere else you have a joined strip of paper creating the wall. The layering will make the frame stronger.
- Allow the wall of your quilled letter to dry thoroughly.
06. Begin Filling in Your Letter Frame
Once you have built your outside frame, fill in the insides of your monogram.
- Follow your design and glue your shapes and strips into place, using your fingers and tweezers for tight spaces.
- Allow the finished piece to dry completely for a few hours.
07. Use Your Tweezers
Tweezers are a quillers best friend. They are one of the most important tools you will use because it helps you pull paper shapes of all sizes into small spaces inside your monogram project without disturbing the frame.

To follow more details to step by step to make Quilling Flowers Heart Card, please click and watch the video below. Hopefully, with the above easy instructions, you can complete a beautiful paper flower wreath to decorate or make a gift for your friends or relatives. Let’s try it !!!!


