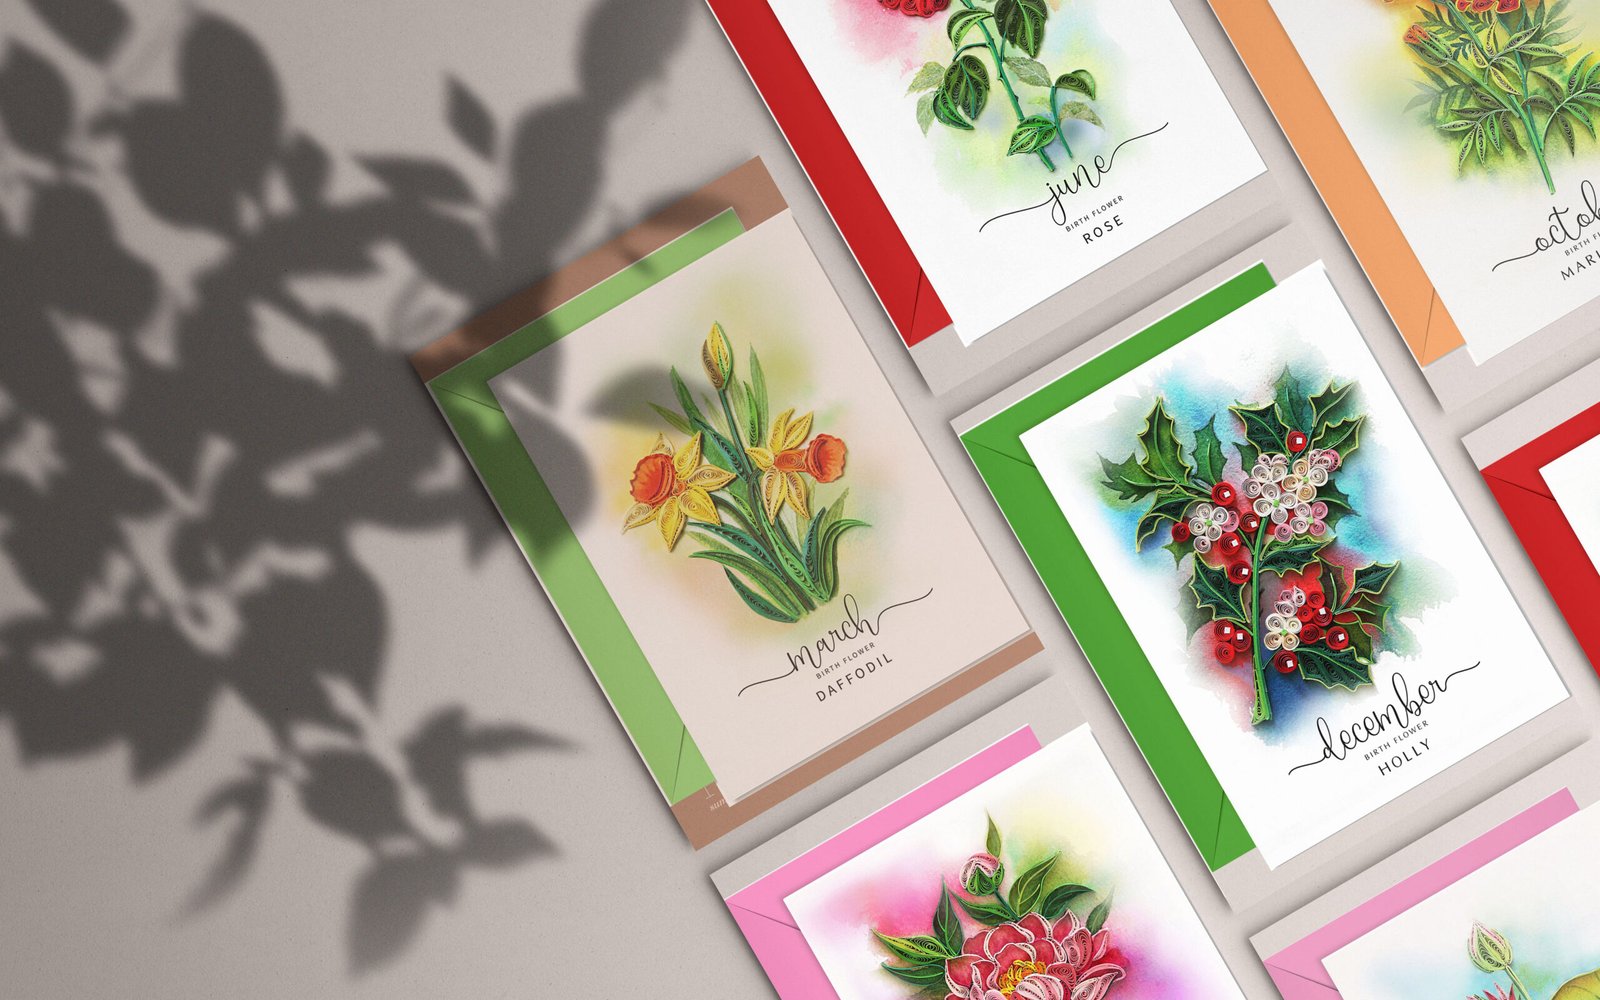
Paper quilling is an enjoyable way to create whimsical novelties or masterful works of art. You can quickly roll up a greeting card or spend hundreds of hours manipulating pieces of paper into intricate paper mosaics or sculptures. How you use the craft and what you make is really up to you and how much time you want to spend (and perhaps how much patience you have), but the overall concept always begins with the same thing: rolled paper shapes. Continue reading to learn more about how to make some simple quilling shapes.
Let’s look at basic shapes in this paper quilling tutorial.
Supplies
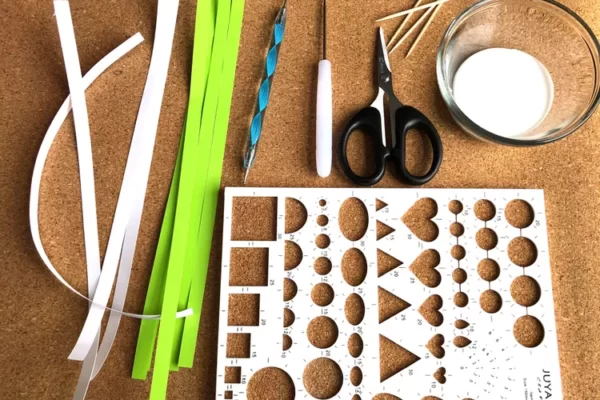
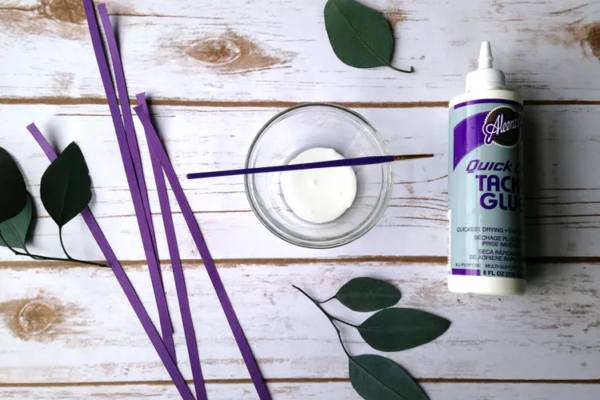
Quilling is a very inexpensive craft to learn. For this paper quilling tutorial, you will need the following:
- A slotted quilling tool
- Quilling glue in a needle-tip bottle
- Scissors
- Package of quilling paper strips
- Tweezers
For beginners, I recommend using 1/4″ wide quilling paper. The wider width gives you more grip and it is easier to manipulate. Once you have the shapes mastered, you will find it much easier to quill with narrower strips if you wish. Cut the strips 8.5″ long for the purposes of this tutorial.

How to make open and closed coils
Simple circles are the first shapes you’ll learn, as they are the base for most other shapes you’ll create.
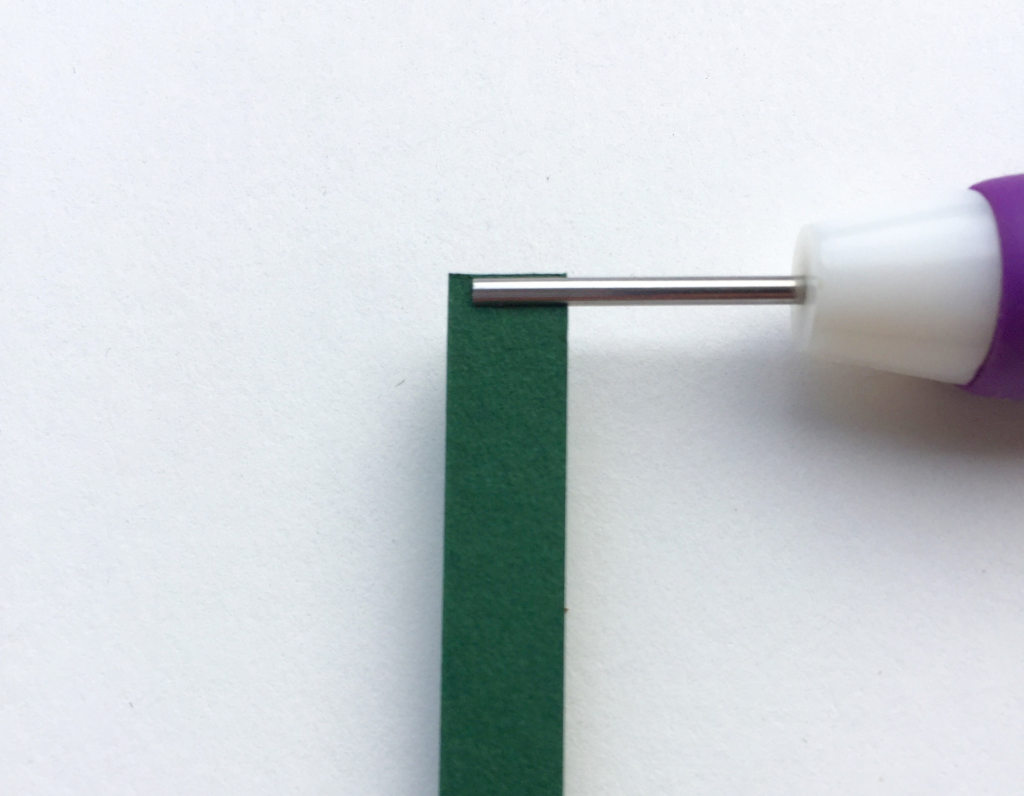
Step 1:
To begin, insert a piece of quilling paper into the slot of your quilling tool. Try to get the edge of the paper and the edge of the slot to line up as perfectly as you can. Using a slotted tool will naturally leave a small crimp in the center of your coil, but if you allow the paper to hang over the edge of the tool, the crimp will be much more visible.

Step 2:
Roll the tool with your dominant hand either toward your body or away from it; whichever feels most comfortable to you. Hold the strip taught with your other hand.
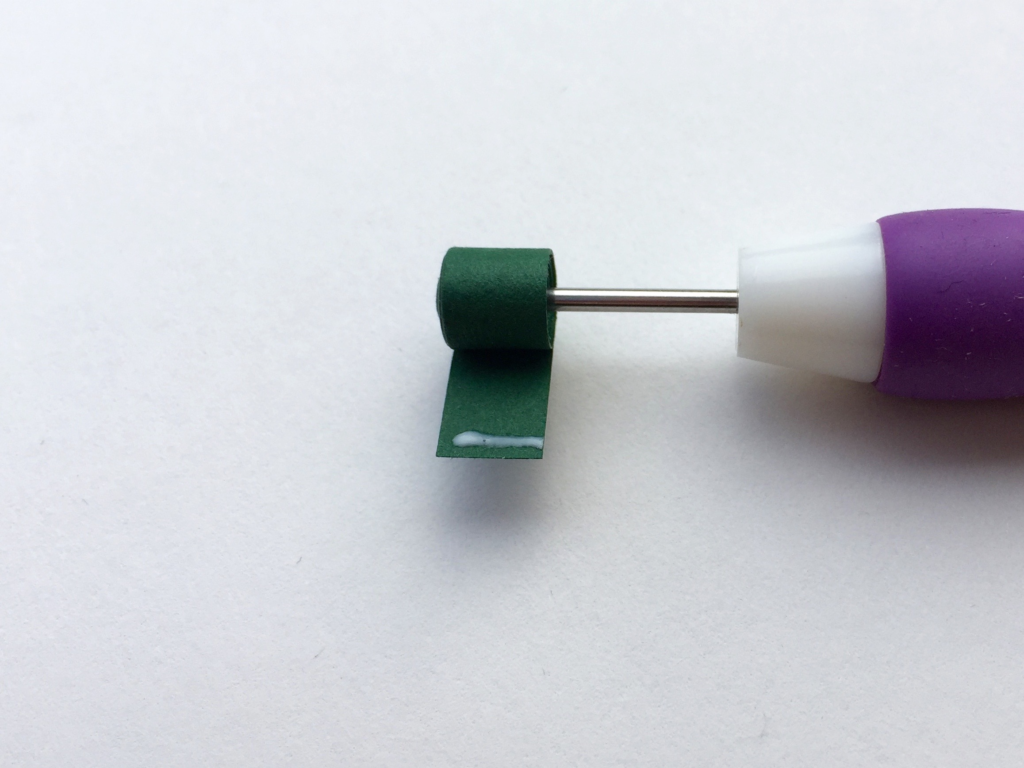
Step 3:
To make a closed coil, as you near the end of the strip, place a small amount of glue near the end of the strip and roll to complete. When you remove it from the tool, do not allow it to expand — that’s what keeps it tight.
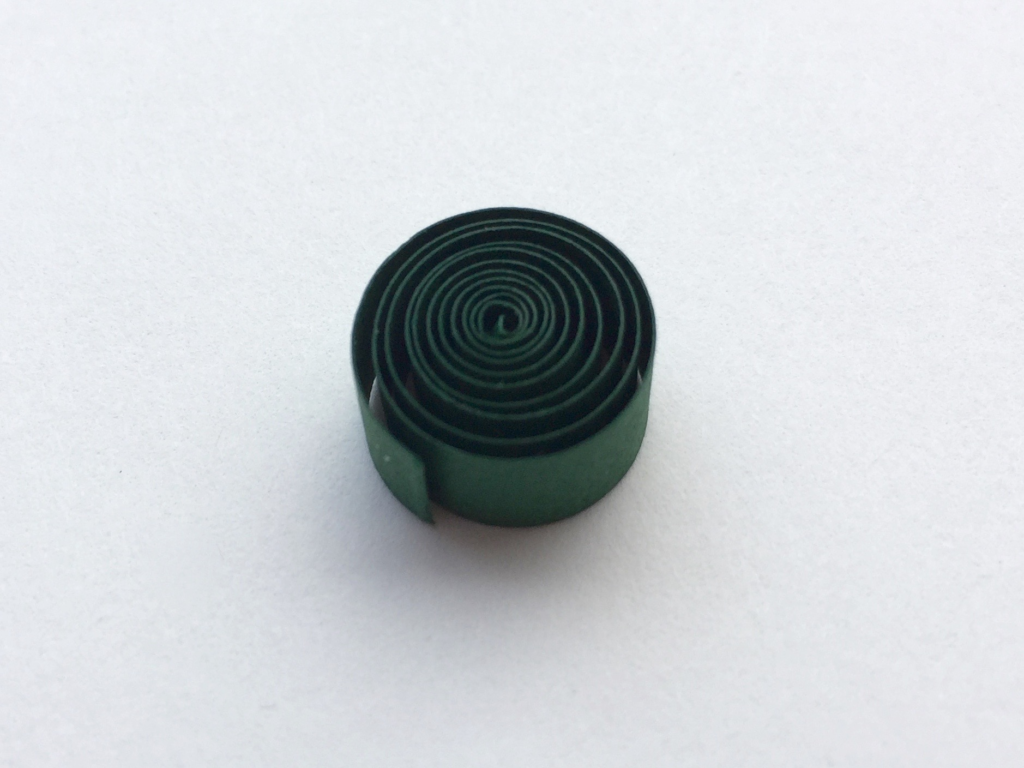
To make an open coil, remove the coil from the tool and allow the coil to expand. Once it has fully expanded, add the dab of glue and press the strip down carefully to secure it.
