
A Beginner’s List of Tools and Materials
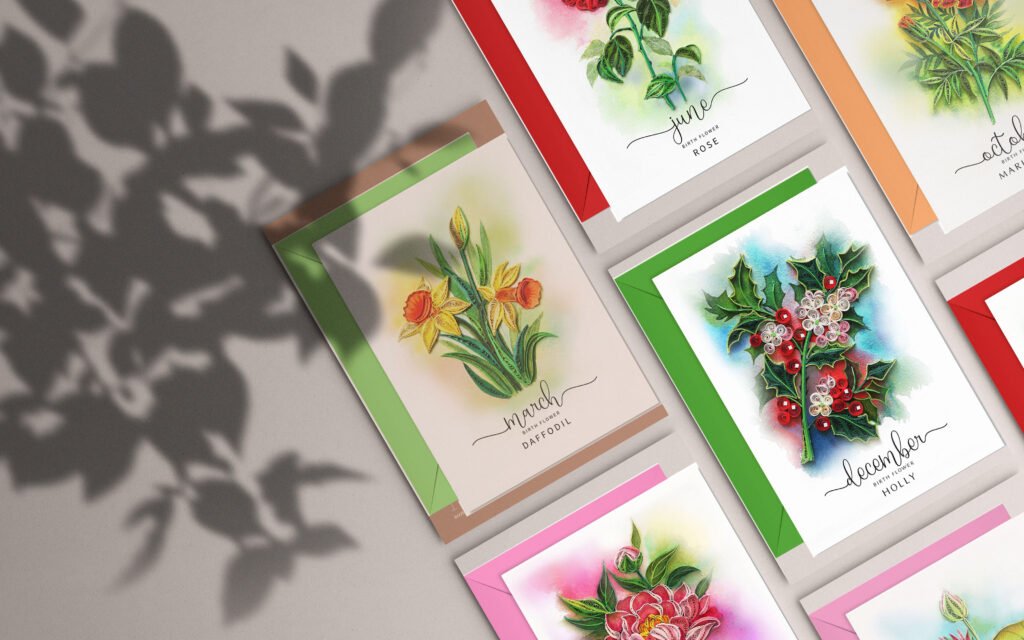
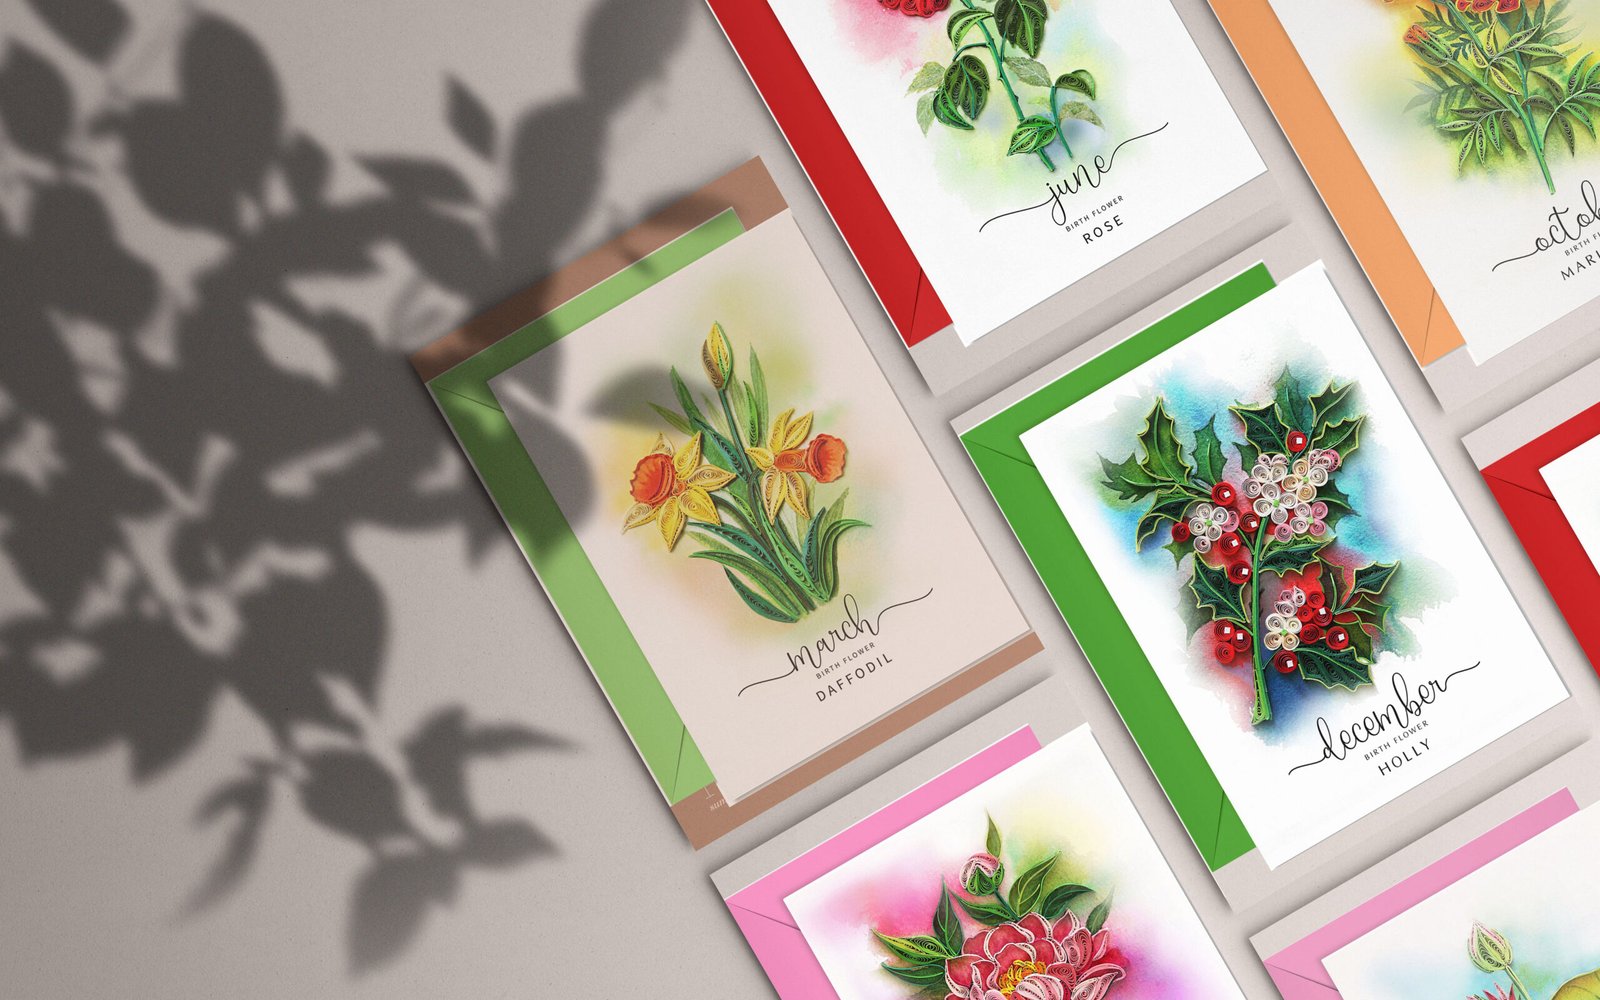
Quilling is the art of creating intricate designs from simple rolled paper shapes. It has made a big come-back in paper crafting, scrapbooking, and card making. To get started quilling, you will need just a few basic supplies.
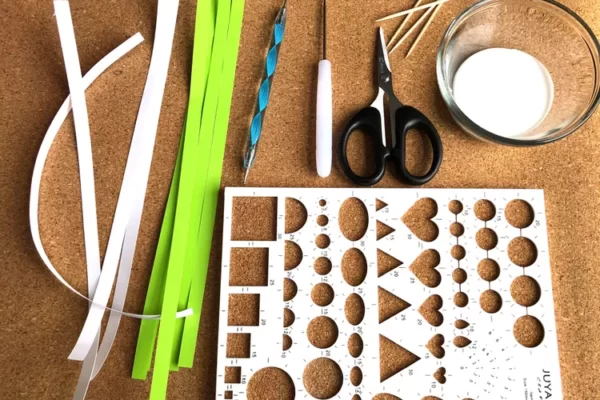
If you simply want to give quilling a try with very basic designs, then the most important tools are paper strips, a few round toothpicks, and some good liquid glue. With these, you can easily make all of the basic quilling shapes.
01. Quilling Board

Since quilling involves rolling strips of paper into spirals, a quilling board helps ensure that all of your spirals are the same size. You can roll a tight coil and then let it open up to be the size of any of the circles on the board.
Some quillers use straight pins to hold pieces to the board. The large open space on the right is an area where you can experiment with different designs of the basic shapes.
If you are just getting started and want to make very simple designs, you might be able to get away with making your own quilling board.
02. Slotted Quilling Tool

Most people like to use a slotted-end tool to roll their paper strips when they are creating quilling designs. The slot allows you to place one end of the paper through the tool when you turn it to make a coil.
All slotted tools will work with regular weight paper strips. However, if you wish to work with cardstock weight paper, then you might have trouble fitting the paper into the slot. Look for a slotted tool with a slightly larger opening so you will be able to work with heavier weight papers.
03. Paper Quilling Strips

Paper quilling strips come pre-cut in colorful bundles or cut lengths in clear plastic tubes. These paper strips have been cut specifically for quilling. They are a lighter weight paper that is easy to roll, glue, and attach to your designs.
You can very easily cut your own paper strips from the patterned paper or cardstock in your scrapbooking supplies. Cardstock will be slightly more difficult to roll, however, it will give you very strong designs that hold up well in scrapbooks and on greeting cards.
To make your own strips, simply use your paper trimmer to cut 11- or 12-inch long pieces that are only 1/8-inch wide.
04. Liquid Glue

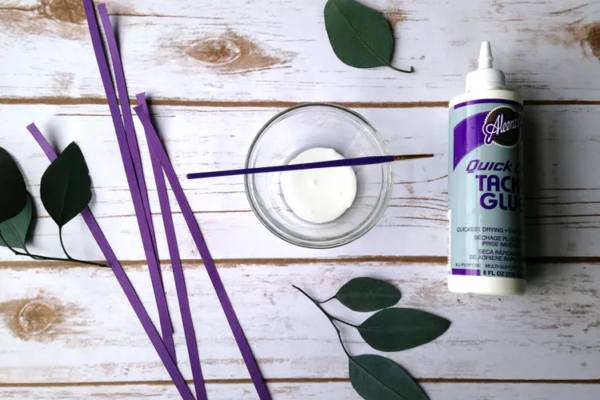
When you have a rolled coil the size you want for your design, you will need to add a dot of liquid glue to hold it in place. Look for glue that has a pen-size opening to make it easy to apply the glue directly to the paper strip.
Alternatively, pour a spot of liquid glue on a disposable plate or scrap of paper. Use a toothpick to apply a dot of glue to your paper strip.
05. Piercer Tool and Tooth Picks

If your paper is too thick for a slotted tool, you may decide to use a paper piercing tool or even just a simple toothpick to roll your paper strips. The toothpicks also come in handy for applying liquid glue.
Quilling patterns for beginners.


Lorem Ipsum Dolor sit amet, consectetur adipisicing elit, sed do eiusmod tempor incididunt ut labore et dolore magna aliqua. Ut enim ad minim veniam, quis nostrud exercitation ullamco laboris nisi ut aliquip ex ea commodo consequat.
Lorem Ipsum Dolor sit amet, consectetur adipisicing elit, sed do eiusmod tempor incididunt ut labore et dolore magna aliqua. Ut enim ad minim veniam, quis nostrud exercitation ullamco laboris nisi ut aliquip ex ea commodo consequat.